OpenCode is an open source coding agent that runs in your terminal and works with many model providers. Getting it running takes a few minutes: pick an installer, connect a provider, generate an AGENTS.md and give it a task. This guide walks through each step with the exact commands from the official OpenCode documentation as of September 2026, then covers the parts people usually look up next: Plan and Build, the OpenCode CLI commands, config files, updating and what to check when a first install misbehaves.
Install OpenCode
OpenCode ships through several package managers. Any of them gives you the same opencode command, so choose the one that matches your machine.
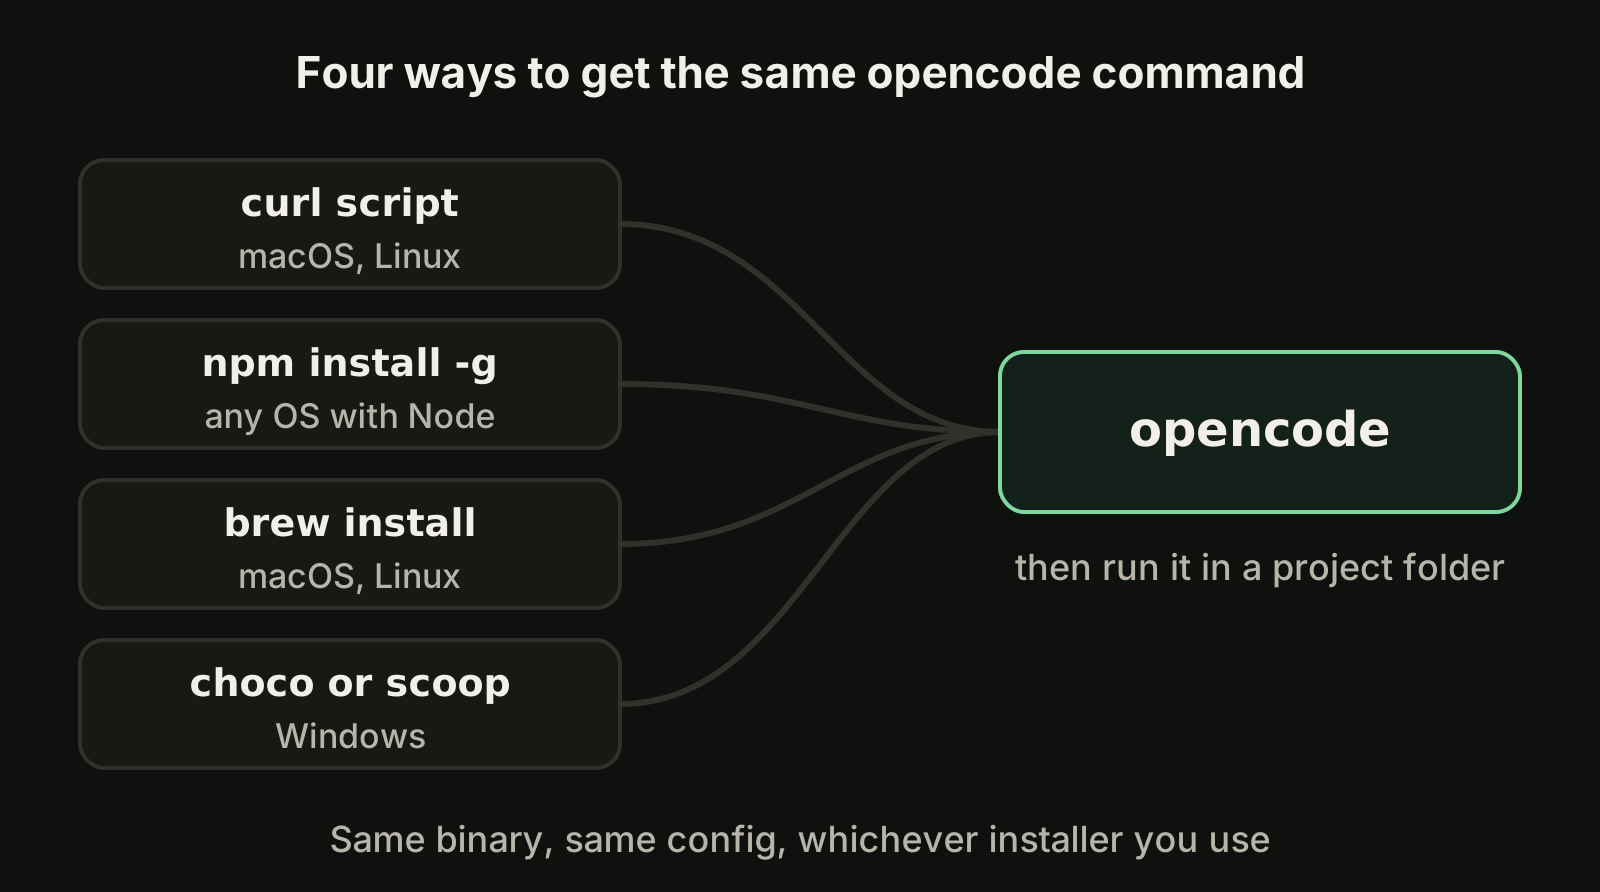
| Method | Command |
|---|---|
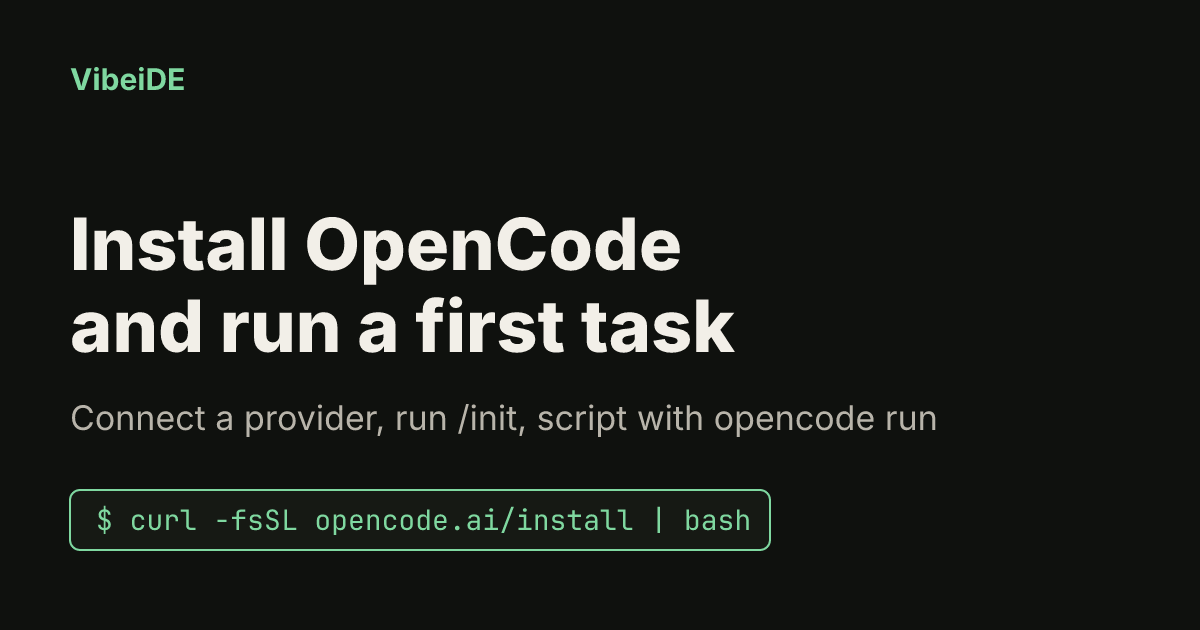
| Install script | curl -fsSL https://opencode.ai/install | bash |
| npm | npm install -g opencode-ai |
| Homebrew (macOS, Linux) | brew install anomalyco/tap/opencode |
| Arch Linux | sudo pacman -S opencode or paru -S opencode-bin |
| Windows, Chocolatey | choco install opencode |
| Windows, Scoop | scoop install opencode |
| Docker | docker run -it --rm ghcr.io/anomalyco/opencode |
The docs list a modern terminal emulator as a prerequisite, with WezTerm, Alacritty, Ghostty and Kitty as examples, plus API keys or an account for at least one model provider. Once the install finishes, run opencode --version to confirm the command is on your path.
Connect a model provider
OpenCode does not include a model, it talks to the providers you connect. Start it, then run the /connect command inside the terminal UI, pick a provider and paste your credentials. OpenCode stores what you enter in ~/.local/share/opencode/auth.json.
From a normal shell you can do the same with opencode auth login, and check what is configured with opencode auth list. The provider list includes OpenAI, Anthropic, GitHub Copilot, OpenCode Zen (a curated set of tested models) and local servers such as Ollama, LM Studio and llama.cpp. Subscription rules differ by provider and change over time, so check the provider's own terms before you rely on a plan. Our comparison of OpenCode vs Claude Code covers the model access question in more detail.
To see what your connected providers offer, run opencode models. It prints each model as provider/model, which is the format the --model flag and the config file expect.
Start in a project and run /init
Change into a repository and start OpenCode:
cd my-project
opencode
Then run /init inside the terminal UI. OpenCode analyzes the project and writes an AGENTS.md file in the project root. The docs recommend committing it, because it gives every future session the same picture of your build commands, layout and conventions. Codex reads the same file name, so a project that already has one for Codex works here too. Our guide to AGENTS.md for Codex explains how to write a good one.
Treat the generated file as a draft. Delete anything obvious, add the commands you actually run, and keep it short, because it is loaded into context in every session.
Plan first, then build
OpenCode has two primary agents and you switch between them with the Tab key.
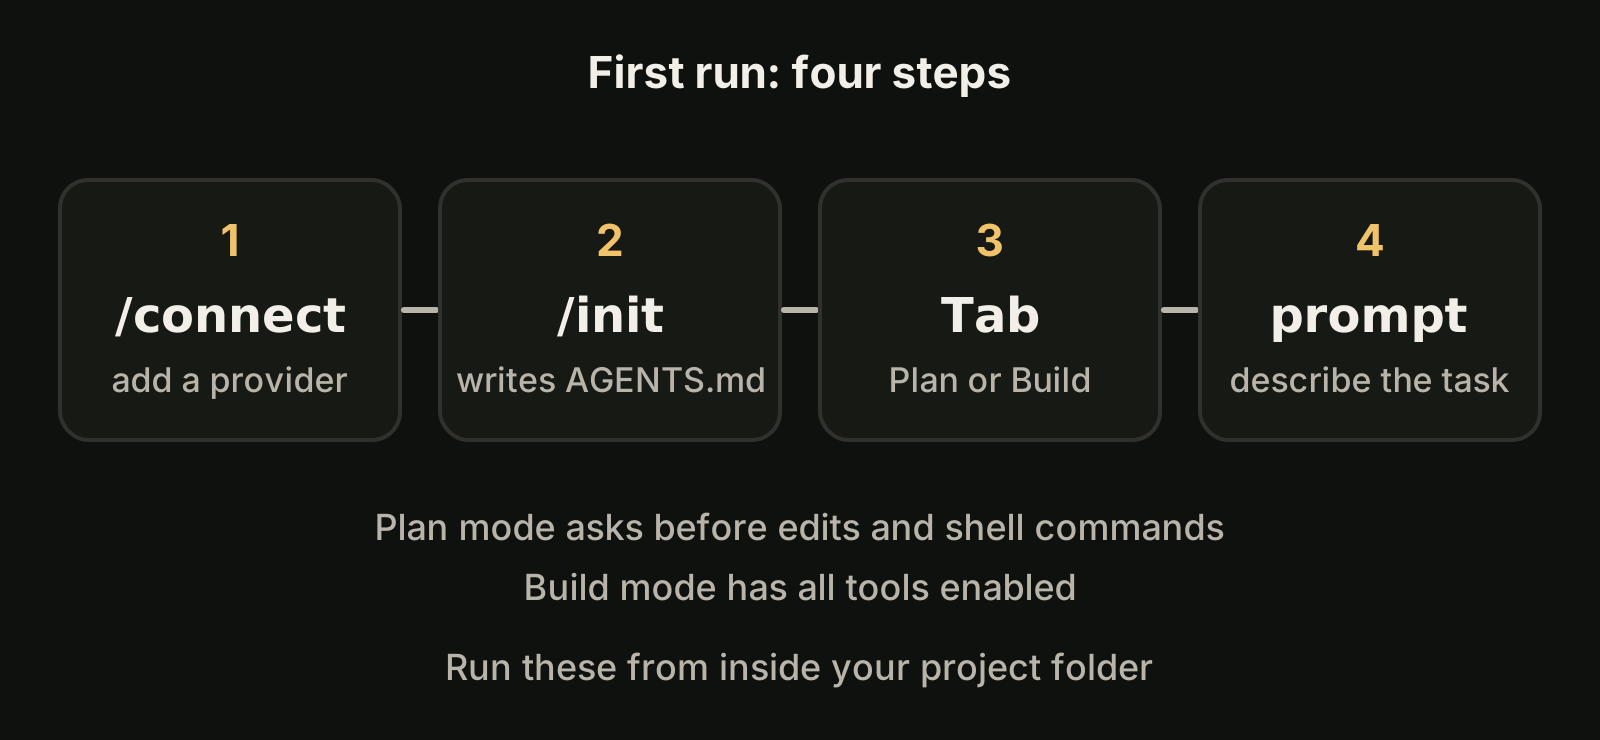
- Build is the default. All tools are enabled, so it can edit files and run commands.
- Plan is restricted. File edits and shell commands default to
ask, so it can read the code and propose an approach without changing anything.
A good habit for anything bigger than a one-line fix is to start in Plan, read the proposal, correct it, then switch to Build. It is the same idea as Claude Code plan mode: review the approach before any file changes. Two commands help when a build goes the wrong way: /undo reverts the last change and /redo restores it. /share creates a link to a conversation if you want a second opinion.
OpenCode also has built-in subagents that the main agents can call. The docs describe General for multi-step research and parallel work, Explore as a fast read-only agent for searching a codebase, and Scout for reading external documentation and dependencies.
OpenCode CLI commands
The terminal UI is only one way in. The opencode command also has subcommands for scripting, servers, providers, sessions and maintenance. These are the main ones in the official CLI reference as of October 2026:
| Command | What it does |
|---|---|
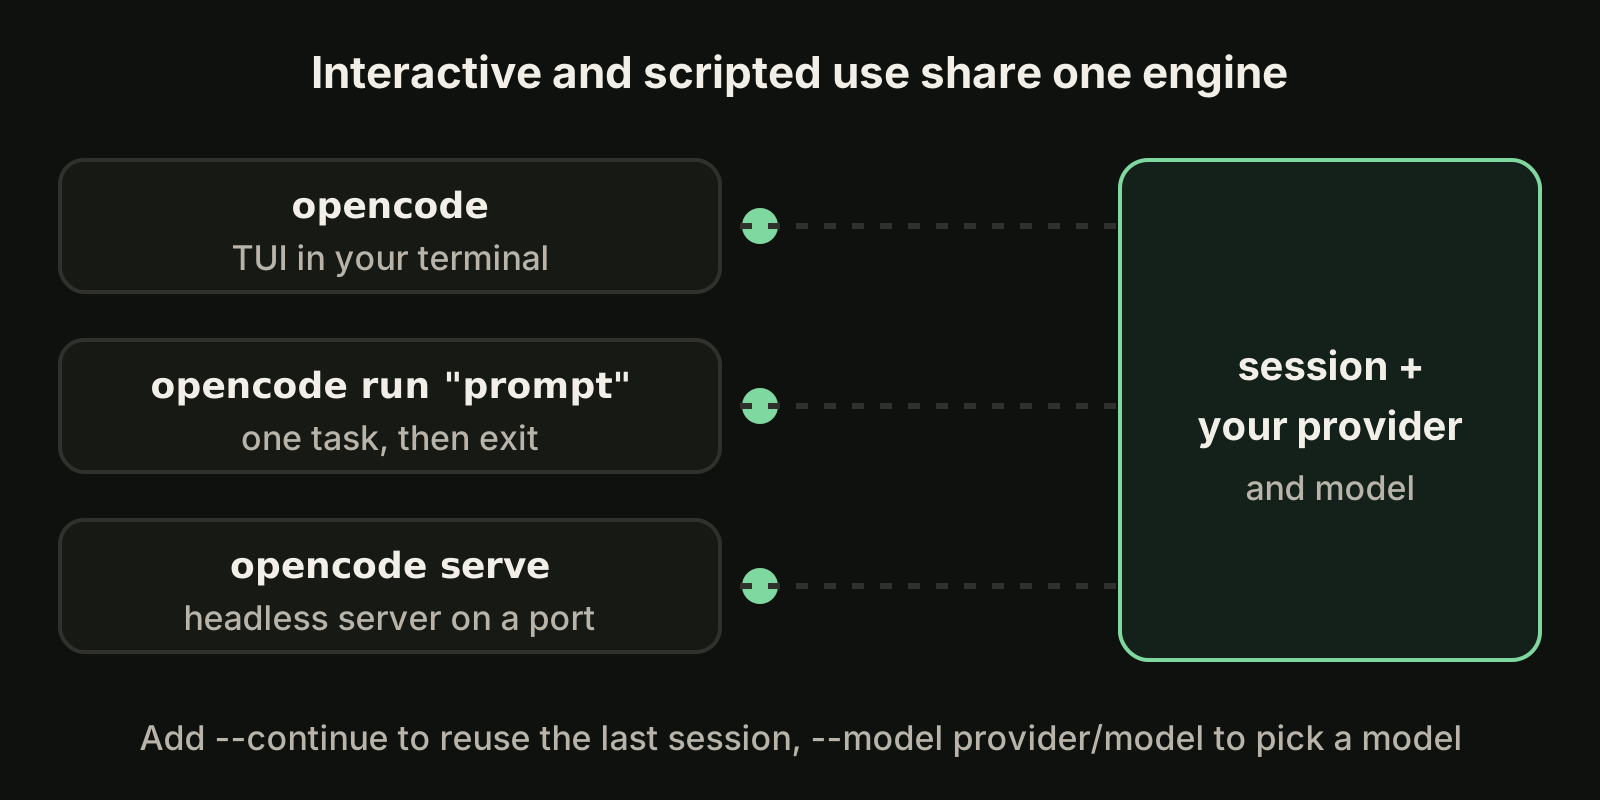
opencode | Starts the terminal UI |
opencode run "prompt" | Runs one prompt non-interactively, then exits |
opencode serve | Starts a headless server for API access |
opencode web | Starts the headless server with a web interface |
opencode attach [url] | Attaches a terminal to an already running server |
opencode auth login, list, logout | Adds, lists or removes provider credentials |
opencode models [provider] | Lists the models your providers offer |
opencode agent create, list | Creates a custom agent or lists available agents |
opencode mcp add, list | Adds MCP servers or shows their connection status |
opencode session list | Lists your OpenCode sessions |
opencode export [sessionID] | Exports a session as JSON |
opencode import <file> | Imports a session from a JSON file or share URL |
opencode stats | Shows token usage and cost statistics for your sessions |
opencode github install | Installs the GitHub agent in a repository |
opencode upgrade [target] | Updates to the latest or a specific version |
opencode uninstall | Removes OpenCode and its related files |
Flags worth remembering
A few global flags work with the terminal UI and with opencode run: --continue (or -c) continues the last session, --session (or -s) continues a specific one, --model (or -m) takes a provider/model value and --agent picks an agent. opencode run adds its own: --format json prints raw JSON events, --file (or -f) attaches files to the message, --title names the session, --fork forks a session you continue instead of extending it, --dir sets the directory to run in and --attach sends the prompt to an already running server.
opencode run --model anthropic/claude-sonnet-4-5 "Add input validation to the signup handler and list the files you changed"
opencode run -c "Now add tests for the validation you just wrote"
opencode run --format json "List the TODO comments in src/" > todos.jsonl
Use whichever model name your own opencode models output shows. The one above is the example used in the official config docs. If you run many scripted prompts, start opencode serve once and point each opencode run --attach at it, so every call reuses the same running backend.
Configure OpenCode with opencode.json
Settings live in JSON. A global file sits at ~/.config/opencode/opencode.json, and a project file named opencode.json in the repository root overrides it. A minimal project config looks like this:
{
  "$schema": "https://opencode.ai/config.json",
  "model": "anthropic/claude-sonnet-4-5",
  "permission": {
    "edit": "ask",
    "bash": "ask"
  }
}
The model key sets the primary model, small_model sets a lighter one for small tasks, and permission controls which tools need your approval. You can also define your own agents as markdown files in .opencode/agents/ for one project or ~/.config/opencode/agents/ for all of them. The file name becomes the agent name, so review.md creates a review agent. The full list of keys and the loading order are in the configuration reference.
Keep it up to date
Run opencode upgrade to update to the latest version, or pass a version number to install a specific one. If you installed through a package manager, updating with that manager keeps things consistent. The CLI reference lists every command and flag, and it is the page to check when a flag in this guide behaves differently on your version.
Troubleshooting a first install
If opencode is not found after installing, open a new terminal so your shell reloads its path, and check where your package manager puts global binaries. If /connect finishes but no models appear, run opencode auth list to confirm the credentials were stored, then opencode models to see what that provider exposes. If the terminal UI renders badly, try one of the terminal emulators the docs recommend. And if a command behaves differently from this guide, run opencode --help first: the installed version is the source of truth for its own flags.
Using OpenCode inside VibeiDE
VibeiDE is a desktop app that coordinates the Codex, Claude Code and OpenCode CLIs you already installed, with your own provider accounts. OpenCode runs headless there, with its activity recorded per task, while Codex and Claude Code run in embedded terminals. Each project has its own task queue, and finished work waits in Ready for review until you mark it reviewed. See the OpenCode page or set it up in about three minutes with a 14-day trial and no card.
Common questions
Do I need an account to use OpenCode?
You need access to at least one model provider. That can be an API key, a supported subscription sign-in, or a local model server, and you add it with /connect.
Where does OpenCode keep my credentials?
In ~/.local/share/opencode/auth.json, according to the provider documentation. Keep that file out of version control.
What is the difference between opencode and opencode run?
opencode opens the interactive terminal UI. opencode run "prompt" sends one prompt without the UI and exits, which is what you want in scripts, git hooks and CI. Add -c to continue the last session or --format json for machine-readable output.
Can I use OpenCode and Codex on the same project?
Yes, both read AGENTS.md. To keep their edits from colliding, give each task its own Git worktree. Our guide to installing the Codex CLI covers the other side of the setup, and OpenCode vs Codex compares the two.
Takeaways
- Install with the script, npm, Homebrew, Chocolatey, Scoop or Docker; all give you the same
opencodecommand. - Connect a provider with
/connectoropencode auth login, and list models withopencode models. - Run
/initonce per project and commit the generatedAGENTS.md. - Use
Tabto plan in Plan mode before building, and/undoif a build goes wrong. - Script it with
opencode runand its flags, or runopencode serveand attach to it. - Use
opencode session list,opencode statsandopencode exportto review past sessions and usage. - Put shared settings in
opencode.json, and check the official docs after each upgrade.