To install the Codex CLI, run npm install -g @openai/codex on any system with Node.js, then start codex in your project folder and sign in with ChatGPT or an API key. On macOS you can use brew install --cask codex instead, and OpenAI also provides a one-line install script for macOS and Linux and a PowerShell one for Windows. Already installed? Run codex update to get the latest version.
Everything below is checked against the official Codex repository, the Codex CLI quickstart and the command line reference as of November 2026.
What is Codex CLI?
Codex CLI is OpenAI's coding agent that runs locally on your computer, in your terminal. From one prompt it can inspect your code, make changes, run commands and automate repeatable work without leaving the terminal. You use it with a ChatGPT plan or an OpenAI API key. The same codex command works interactively or from scripts through codex exec.
Codex CLI install commands at a glance
| Platform | Install command | Update command |
|---|---|---|
| Any system with Node.js | npm install -g @openai/codex | npm install -g @openai/codex |
| macOS (Homebrew) | brew install --cask codex | brew upgrade --cask codex |
| macOS or Linux (script) | install.sh one-liner, see step 1 | Run the same one-liner again |
| Windows (PowerShell) | install.ps1 one-liner, see step 1 | Run the same one-liner again |
| Any of the above | Already installed | codex update |
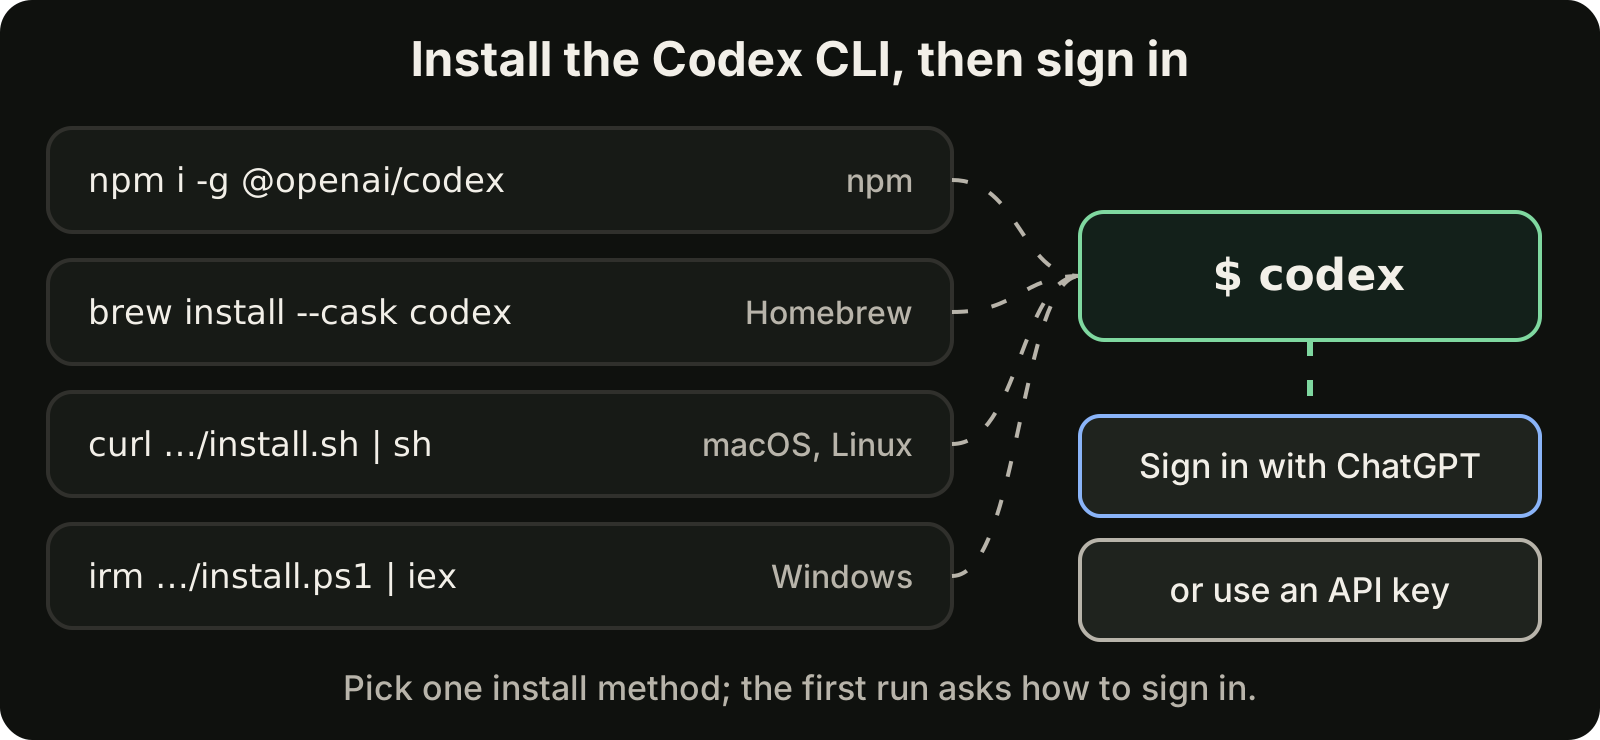
Install Codex: the three steps
A Codex install is three steps: run one install command, check the version, sign in.
1. Run the Codex install command for your system
Pick one method. They all install the same codex command.
npm (any system with Node.js):
npm install -g @openai/codexHomebrew on macOS:
brew install --cask codexInstall script on macOS or Linux:
curl -fsSL https://chatgpt.com/codex/install.sh | shWindows, from a new PowerShell window:
powershell -ExecutionPolicy ByPass -c "irm https://chatgpt.com/codex/install.ps1 | iex"The README also documents a variant of both scripts that downloads from GitHub Releases instead of the default source:
curl -fsSL https://chatgpt.com/codex/install.sh | CODEX_INSTALLER_USE_RELEASES_OPENAI_COM=false sh$env:CODEX_INSTALLER_USE_RELEASES_OPENAI_COM='false'; irm https://chatgpt.com/codex/install.ps1 | iexYou can also download a binary for macOS (arm64 or x86_64) or Linux (x86_64 or arm64) from the latest GitHub release, extract it and rename the executable to codex.
2. Check the version
Open a new terminal and run:
codex --versionIf it prints a version number, the install worked.
3. Sign in
Run codex in any folder. The first run asks how you want to sign in:
- Sign in with ChatGPT opens a browser window and uses your ChatGPT plan. The README lists Plus, Pro, Business, Edu and Enterprise plans. Usage then counts against that plan's Codex allowance.
- API key bills usage to an OpenAI API account at standard API rates and needs a little more setup. From a script,
codex login --with-api-keyreads the key from stdin, for exampleprintenv OPENAI_API_KEY | codex login --with-api-key.
You can also sign in ahead of time with codex login. With no flags it opens a browser for the ChatGPT sign-in; codex login --device-auth uses a device code instead of launching a browser window, and codex login status prints the active sign-in method. codex logout removes the saved credentials. Details are in the official authentication guide.
Which plans include Codex and how much usage they allow changes over time, so check the official Codex pricing page for current details.
What you need before you install Codex
The npm method needs Node.js with npm. The Homebrew, script and binary methods do not use npm. As of November 2026, the official quickstart and README do not state a minimum Node.js version or other hardware requirements, so use a current Node.js release if you choose npm.
Codex CLI on Windows
On Windows you can use Codex through the CLI in PowerShell, and the docs say to use the native Windows sandbox by default rather than WSL. According to the Windows sandbox documentation, there are three sandbox choices as of November 2026:
mxc: the recommended sandbox on compatible Windows devices. It uses native process isolation without administrator-approved setup. The docs list Windows 11 24H2 (build 26100.9278) and 25H2 (build 26200.9278) as the releases where Microsoft introduced it. Turn it on withprefer_mxc = trueunder[features]inconfig.toml.elevated: the preferred legacy fallback when MXC is unavailable or disabled. It needs administrator-approved setup, but sandboxed commands run without administrator privileges.unelevated: a legacy fallback that runs commands with a restricted token derived from your own user, with weaker network isolation.
[windows]
sandbox = "elevated"
Choose WSL2 instead when your workflow already lives in WSL2 or you need Linux-native tools. In that case, install Codex inside the WSL distribution with the npm or install script method, and start it from your Linux shell. If you also run OpenCode on Windows, our OpenCode on Windows guide covers its WSL and native options.
Update the Codex CLI
Codex changes quickly, so update regularly. The CLI has its own update command:
codex updateIt checks for and applies an update when the installed release supports self-update. Otherwise, update the same way you installed:
| Installed with | Update command |
|---|---|
| Codex itself | codex update |
| npm | npm install -g @openai/codex |
| Homebrew | brew upgrade --cask codex |
| Install script or PowerShell | Run the install command again |
| GitHub release binary | Download the newer release and replace the codex file |
Run codex --version afterwards to confirm the new version.
Troubleshooting a Codex install
- **
codex: command not found**: the terminal did not pick up the updated PATH yet. Close it and open a new one. On Windows, the docs say to run the installer from a new PowerShell window. With npm, check that your global npm bin directory is on PATH (npm prefix -gshows where global packages go). - An update seems to do nothing: stick to one install method per machine. Two copies on PATH, for example one from npm and one from Homebrew, is the usual reason. On Windows,
Get-Command codexshows which executable your shell resolves. codex updatedoes not update: it only works when the installed release supports self-update. Use the package manager command from the table above.- The CLI and the desktop app behave differently: the official troubleshooting page notes that the ChatGPT desktop app and the Codex CLI can include different Codex versions. Run
codex --versionto see what the CLI has. - No browser on the machine: sign in with
codex login --device-auth, or pipe an API key intocodex login --with-api-key.
Your first session
Start Codex from the root of a project:
cd ~/code/my-app
codex
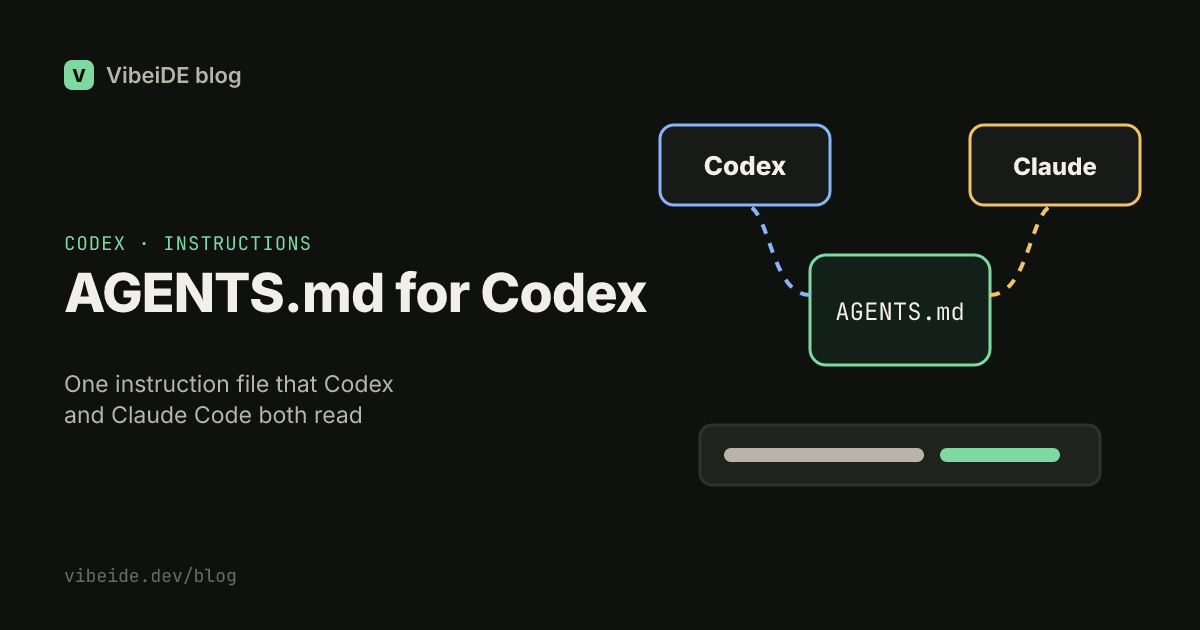
Then run /init. It generates an AGENTS.md scaffold in the current directory, the file Codex reads at the start of every run to learn your build commands, layout and conventions. Edit it down to what matters; our guide to AGENTS.md for Codex explains how Codex discovers and combines these files.
Now give Codex a small, concrete task, such as "add a test for the empty cart case in src/cart.ts". Watch what it reads and proposes before you hand it anything larger. For which model to pick with /model, see our guides to Codex models and GPT-6.2 Astra and Sol in Codex.
The slash commands you will use most:
| Command | What it does |
|---|---|
/init | Generate an AGENTS.md scaffold |
/model | Choose the model and reasoning effort |
/plan | Switch to plan mode before editing |
/permissions | Set what Codex can do without asking |
/diff | Show the git diff, including untracked files |
/review | Ask Codex to review your working tree |
/status | Show session configuration and token usage |
/compact | Summarize the conversation to free context |
/resume | Continue a saved conversation |
/new | Start a fresh conversation in the same session |
Moving from Claude Code or Cursor? /import brings over your setup, projects and chats.
Sandbox and approvals: how much Codex may do
Two separate settings decide how freely Codex acts. Getting them right is the difference between a helpful agent and one that either asks about everything or touches things it should not.
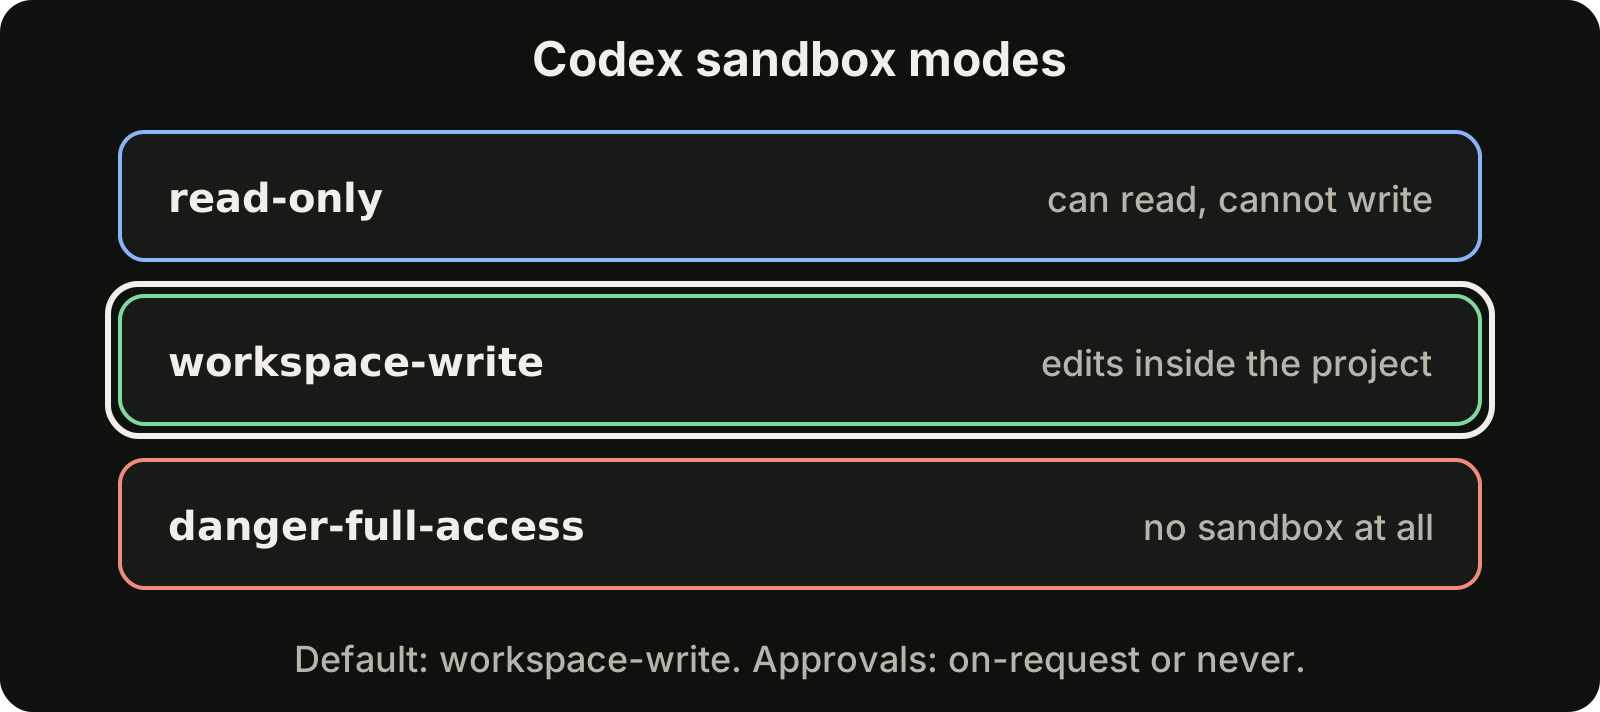
The sandbox limits what commands can technically do:
read-only: Codex can read files but not write them. Good for exploring an unfamiliar codebase or asking questions.workspace-write: Codex can edit files inside the project. This is the right choice for most work.danger-full-access: no sandbox at all. Use it only in a disposable environment, such as a container you can throw away.
The approval policy decides when Codex stops to ask you: on-request pauses for approval when Codex needs to go beyond the sandbox, and never never pauses.
Set both per run with flags:
codex --sandbox read-only
codex --sandbox workspace-write --ask-for-approval on-request
The older --full-auto flag is no longer supported; the docs say to use --sandbox workspace-write or --approve-for-me instead. There is also --dangerously-bypass-approvals-and-sandbox (alias --yolo), which removes both protections. Treat it like running an unknown script with your own permissions. Our guide to the Codex sandbox goes deeper into network access, extra writable folders and when full access is reasonable.
Useful flags
A few flags make everyday runs faster:
-mor--modelpicks a model for this run instead of the configured one.-Cor--cdsets the working directory, handy when you launch Codex from elsewhere.-ior--imageattaches screenshots or design files to your prompt.--searchlets Codex use live web search for the task.
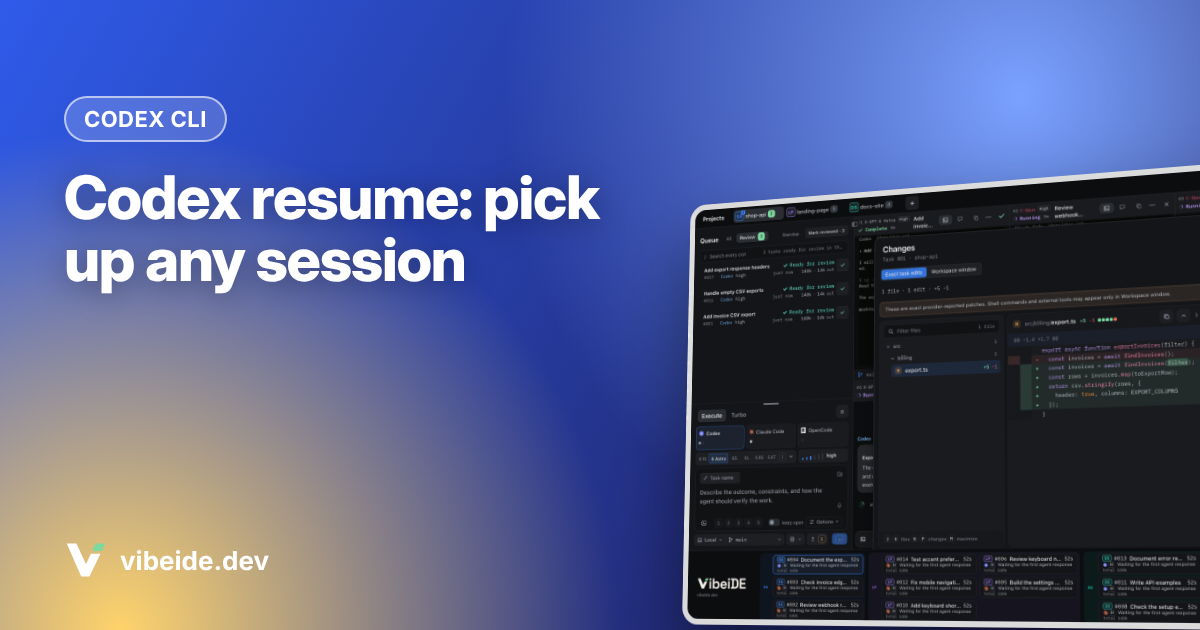
Other subcommands worth knowing: codex resume --last reopens your most recent session in the current folder (our guide to codex resume covers the picker, forks and resuming scripted runs), codex mcp manages Model Context Protocol servers (see our Codex MCP guide), and codex completion generates shell completions.
Configure Codex once
Instead of repeating flags, put your defaults in ~/.codex/config.toml:
sandbox_mode = "workspace-write"
approval_policy = "on-request"
Any single run can still override a setting with -c key=value, and /debug-config shows which configuration layers are active when something behaves unexpectedly. The same folder holds your global AGENTS.md, for personal preferences that apply to every repository.
Automate with codex exec
codex exec runs a task without the interactive interface. It is how you use Codex from shell scripts, git hooks and CI jobs.
codex exec "summarize the changes on this branch"
codex exec --json "list the failing tests and their causes" > events.jsonl
codex exec --sandbox workspace-write "fix the failing test in tests/api.test.ts"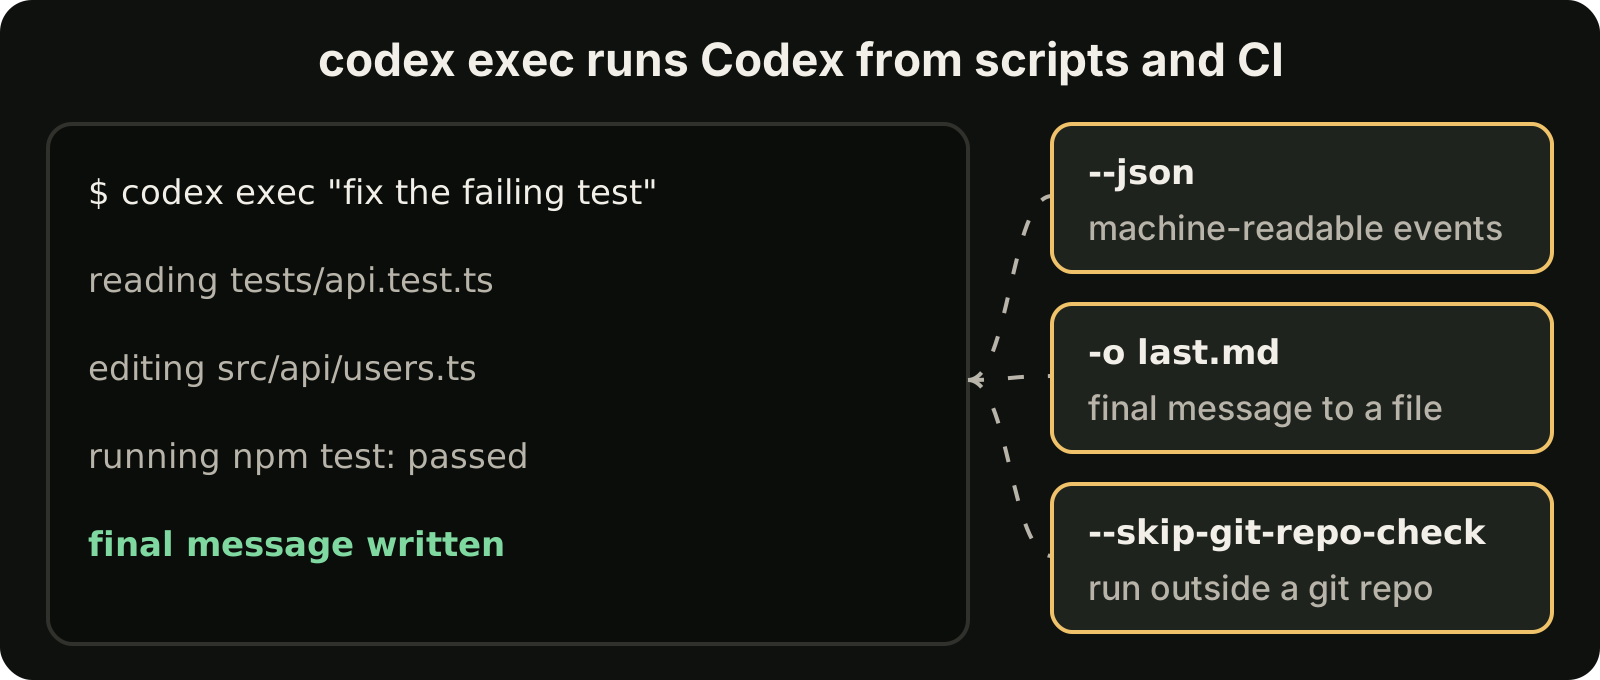
codex execruns in a read-only sandbox by default. Add--sandbox workspace-writewhen the task must edit files.--jsonstreams machine-readable events, so a script can react to what Codex did.-oor--output-last-messagewrites only the final message to a file, which is ideal for summaries and reports.--skip-git-repo-checklets Codex run outside a git repository.
Our full guide to codex exec covers stdin input, --output-schema, codex exec resume and running Codex in CI.
Codex CLI install FAQ
How do I install Codex CLI on Windows?
Open a new PowerShell window and run the install.ps1 one-liner from step 1, or run npm install -g @openai/codex if Node.js is already installed. Then run codex --version and codex. As of November 2026, the official Windows deployment page lists winget only for the ChatGPT desktop app, not for the CLI.
How do I update Codex CLI to the latest version?
Run codex update. If that does nothing, use the method you installed with: npm install -g @openai/codex, brew upgrade --cask codex, or run the install script again. Compare codex --version with the latest entry on the Codex GitHub releases page if you are unsure whether it worked.
Do I need an API key to use Codex CLI?
No. You can sign in with a ChatGPT plan, and the README lists Plus, Pro, Business, Edu and Enterprise. An API key is the alternative and is billed at standard API rates. Plans and allowances change, so check the official pricing page linked above.
Where Codex fits next to other agents
Codex is one of several strong terminal agents. If you are deciding between them, our comparisons of Codex vs Claude Code, OpenCode vs Codex and OpenCode vs Claude Code cover model access, sandboxing, instruction files and which tasks suit each. To try OpenCode next to Codex, see how to install OpenCode. To run Codex, Claude Code and OpenCode side by side, our roundup of tools to run multiple AI coding agents in parallel compares 17 options by platform and worktree isolation. When you hit your plan's usage limit, our page on Codex rate limits explains how to plan work around it.
If you also use Claude Code, our guides to Claude Code skills and Claude Code subagents show how to package reusable instructions and hand focused work to helper agents there.
Where VibeiDE fits
VibeiDE is a desktop app that coordinates the Codex, Claude Code and OpenCode CLIs you already installed, and you sign in to Codex with your own account. Codex runs in an embedded terminal that shows the original CLI interface, so everything in this guide works the same inside it. Each project gets its own task queue, the usage display shows provider-reported usage and reset countdowns where Codex reports them, and when Codex reaches a usage limit the terminal explains that you can continue in the same terminal after the reset. See the Codex page or set it up in about three minutes with a 14-day trial and no card.
Takeaways
- Install with npm, Homebrew, the install script or PowerShell; all give you the same
codexcommand. - Check the install with
codex --versionand update withcodex updateor the method you installed with. - On Windows, use the native sandbox by default; choose WSL2 when your tools live in Linux.
- Sign in with a ChatGPT plan or an API key, and check the official pricing page for current plans.
- Run
/initfirst so Codex has an AGENTS.md to work from. - Keep the sandbox at
workspace-writefor daily work andread-onlyfor exploring; avoid--yolooutside disposable environments. - Use
codex execfor scripts and CI; it starts read-only unless you raise the sandbox.